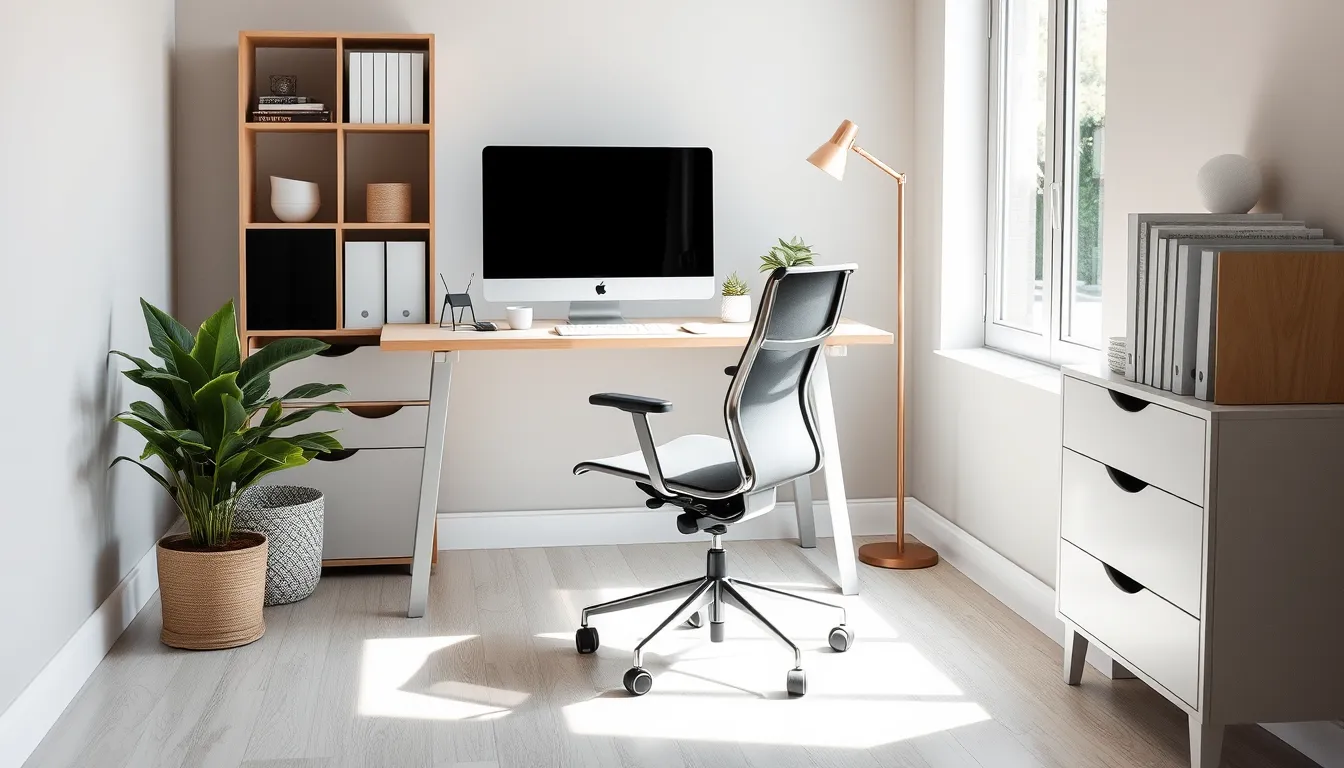
If you’re a student, freelancer, or anyone who spends long hours learning or working from home, this guide gives you a clear, action‑oriented path to a focused study zone. You’ll walk through each setup step, see exactly what result to expect, and avoid the common mistakes that turn a promising space into a distraction trap.
By the end, you’ll have an ergonomic setup, a reliable distraction buffer, and a lighting hierarchy and soundscape that keep you comfortable and attentive—all without costly trial and error.
Assess Your Needs and Available Space
Start by listing the subjects or projects you’ll tackle most often. Note how long each typical session lasts and what tools you need—laptop, textbooks, lab equipment, or art supplies. This inventory defines the size and shape of the study zone you’ll build.
- Measure the space. Use a tape measure or smartphone app to record width, depth, and ceiling height of the room or corner you’re considering. Write down any fixed features (windows, doors, outlets) that will affect placement of desks and shelves. Result: a precise floor plan that prevents later surprises.
- Match layout to usage. If you study daily for several hours, plan a permanent ergonomic setup with a dedicated desk and chair. For occasional or multi‑purpose rooms, design a flexible layout using fold‑away furniture or rolling carts that can be stored when not in use. Result: a configuration that supports your routine without crowding the space.
- Check clearance for a distraction buffer. Ensure at least a foot of open floor around the desk to create a visual and physical buffer from high‑traffic areas. Result: reduced interruptions and a clearer path for a lighting hierarchy.
Common mistake: assuming any nook will work without measuring first. Skipping step 1 often leads to a cramped study zone, inadequate outlet access, or a layout that forces you to compromise on ergonomic setup, lighting hierarchy, or soundscape. Take the time to measure, and the rest of the process will flow smoothly.
Select Furniture and Build an Ergonomic Setup
Now that you know the dimensions of your study zone, focus on the furniture that will support an ergonomic setup.
- Pick a desk with enough surface area. Measure the width needed for your laptop, notebook, and any reference materials. A desk that accommodates everything without crowding lets you keep tools within reach, which reduces reaching motions and helps maintain a steady workflow.
- Select a chair that offers lumbar support. Sit in the chair and check that the lower back curve aligns with the natural curve of your spine. Adjustable height and seat depth let you keep your feet flat on the floor and your knees at a 90‑degree angle, minimizing pressure on the lower back and hips.
- Position the screen at eye level. Place the monitor or laptop stand so the top of the screen is just below eye height and about an arm’s length away. This alignment prevents neck strain and keeps your gaze steady, allowing longer, more focused study sessions.
Common mistake: Choosing a stylish desk or chair that looks great in a photo but lacks proper support. Prioritizing aesthetics over posture can quickly lead to discomfort, forcing you to abandon the study zone or make costly adjustments later.
Control Light, Sound, and Temperature
When you learn How to Create a Productive Study Space at Home, controlling light, sound, and temperature is the next step toward a reliable distraction buffer. Proper adjustments keep the study zone alert and comfortable for hours of work.
Lighting Options
- Establish a lighting hierarchy. Start with ambient light—soft overhead or floor lamps—to fill the room evenly.
- Add task lighting. Position a desk lamp at 30‑45 inches away, directing a focused beam onto your work surface. This reduces eye strain during reading or writing.
- Introduce accent light. A small LED strip or adjustable reading light can highlight a whiteboard or inspirational quote without competing with the task lamp.
- Control natural light. Install blinds or curtains that let you dim harsh sunlight and prevent glare on screens.
Result: A layered lighting setup sustains alertness and reduces visual fatigue. Common mistake: relying solely on bright overhead fluorescents, which cause glare and trigger headaches.
Sound Management
- Shape the soundscape. Use a white‑noise app, low‑volume instrumental playlist, or a fan to mask sudden interruptions.
- Absorb excess noise. Hang acoustic panels, thick rugs, or fabric wall hangings to dampen echo and outside chatter.
- Maintain volume balance. Keep background audio below conversational level so it supports focus without becoming a distraction.
Result: A consistent, low‑key soundscape protects the ergonomic setup from auditory interruptions. Common mistake: ignoring ambient noise or blasting music, which can fracture concentration.
Finally, set the thermostat or portable heater to keep the study zone between 68‑72 °F. Stable temperature prevents drowsiness or overheating, completing the environment for sustained productivity.
Organize Materials and Create a Distraction Buffer
By the end of this step you’ll have a tidy study zone where everything you need is within reach, yet out of sight, creating a strong distraction buffer that protects your ergonomic setup.
- Install shelves or drawer units. Place them against a wall or under the desk so books, notebooks, and tech accessories have a dedicated home. Result: the desktop stays clear for active work.
- Route power and data cables with organizers. Use zip ties, Velcro straps, or a cable tray to bundle cords behind the desk. Result: visual clutter disappears and tripping hazards are removed.
- Adopt a clear‑desk policy. At the start of each session, only keep the item you’ll use that day on the surface; everything else returns to its shelf or drawer. Result: you see only what’s relevant, reinforcing focus.
- Add a visual cue for study time. Hang a small “focus” sign, place a colored coaster, or use a desk mat that you only display when you intend to work. Result: the cue signals to you and anyone nearby that the zone is in use.
- Schedule a weekly tidy‑up. Set a recurring 10‑minute block to sort papers, dust surfaces, and reassess storage. Result: clutter never accumulates, keeping the distraction buffer intact.
Common mistake: letting paperwork and gadgets pile up on the desk, assuming a one‑time cleanup will suffice. Without a regular tidy‑up routine, the study zone quickly reverts to a cluttered space that undermines concentration.
Maintain and Refine Your Study Space
- Reset the study zone after every session. Spend the last two minutes of each study block turning off unnecessary devices, aligning chair and monitor, and wiping the desk surface. Result: the ergonomic setup is ready for the next use, and the distraction buffer stays intact.
- Conduct a quarterly ergonomics audit. Mark a calendar reminder every three months to sit, stand, and reach as you normally would, then note any discomfort or strain. Adjust chair height, monitor tilt, or keyboard angle accordingly. Result: sustained comfort and reduced risk of fatigue, keeping the study zone supportive over time.
- Refresh lighting hierarchy and layout as study needs evolve. At the start of each semester or major project, reassess whether you need brighter task lighting, a different glare‑free lamp position, or a re‑arranged desk to accommodate new materials. Implement the changes and note the impact on focus. Result: a dynamic environment that matches current tasks, preventing the space from feeling stale.
Common mistake: treating the study zone as a set‑and‑forget area. Skipping the post‑session reset, ignoring quarterly ergonomics checks, or failing to adapt lighting and layout leads to accumulated discomfort, visual strain, and a loss of motivation. Regular maintenance ensures that How to Create a Productive Study Space at Home remains effective day after day.
Leave a Reply